In Archicad we can import 3ds objects in a very easy way. We only need to have the goodies installed, and use the option to import 3ds object.. However, there is a problem in the process. The problem has to do with the textures of the materials. since the script that is generated automatically does not adapt the textures to be used with the cinerender rendering engine. This is the reason why textures do not appear when we render imported 3ds objects
Correcting this problem is simple. For this we must open the object and edit the gdl script, correcting the reading instructions and adding content for texture and material to work with the cinerender rendering engine. Ok… Very well let’s see how to do it
Converting 3d max Objects in 3ds objects
In the market there are 3d objects in 3dsmax format of high quality. If we have installed 3ds max, we can export them in 3ds format to use them in archicad.
But we must have the following considerations.
- The 3ds format contains a limited number of polygons – only 65,535 polygons.
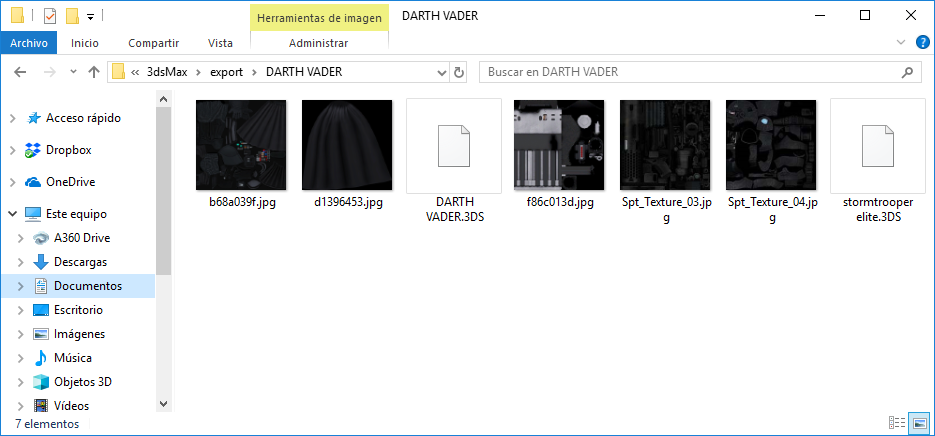
- The textures of the objects require to be converted into jpg format. I recommend you use photoshop to edit them and save them as jpg.
Taking into consideration the size you should evaluate if you need to divide the object in parts or reduce its polygons.
To reduce the polygons we must use a modifier called ProOptimizer.
To use it:
- we select the objects
- in section modifiers we display the list of modifiers
- looking for ProOptimizer
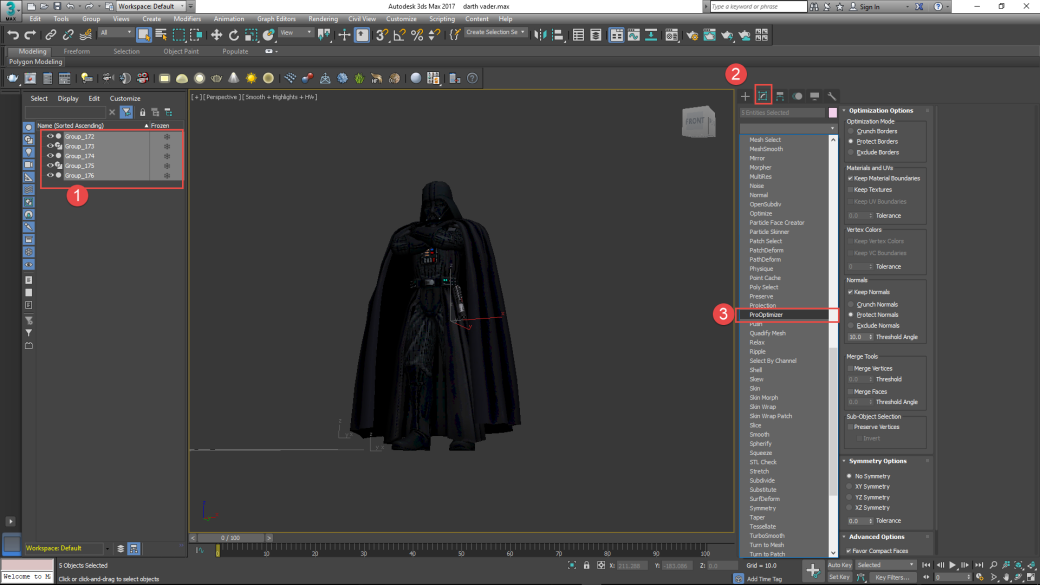
- in the Materials and UVs section we select Keep Material Boundaries and Keep textures.
- We click on calculate
- At the beginning of the calculation nothing happens
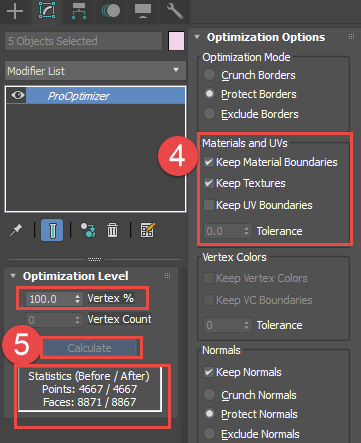
- since it is 100%, what we do is to check the amount of polygons that should not be greater than or equal to 65,535
- If this is the case it occupies the percentage value of vertex reducing it until the object covers this condition
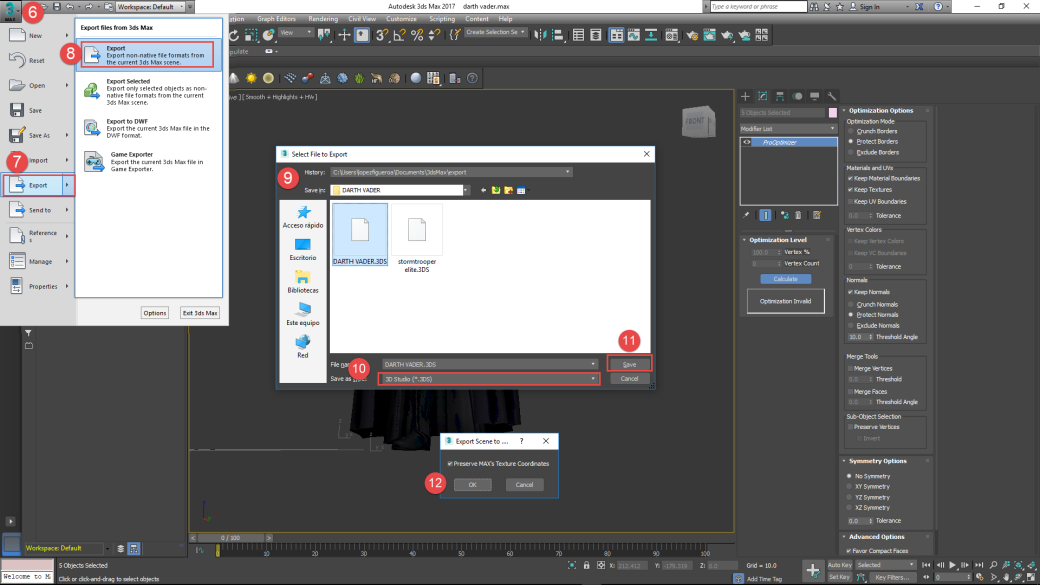
- Later we will export our object in 3ds format, for this we use the export menu, and the 3ds format -we must keep the objects to be selected- a window will appear that indicates that if we want to preserve the coordinates of the textures, by default answer is yes.
- Now check the folder of your max file, find the texture files, open them in photoshop and save them as jpg. Save them preferably in a folder together with your 3ds file.
- Okay. Let’s leave the dark side.
Congratulations Jedi , you are ready and happy to go to the archicad.
Using 3d studio In
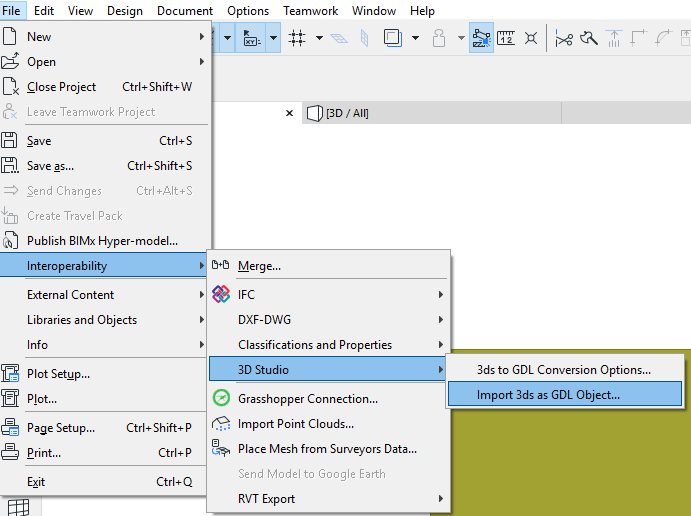
Which once we have it installed you will find it in Interoperability> 3ds Studio> Import 3ds as GDL Object. To use it you need open a floor view.
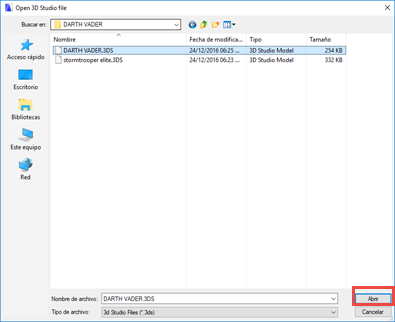
When using it, a search window of the file is displayed, you must locate it, you open it.
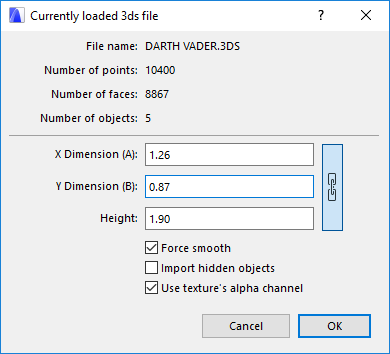
Next, a window will appear that tells you information about the number of points, faces, and objects that the file contains.
In this window we configure the dimensions that we want to give to the object. Being able to manipulate the dimension X, Y and its height (z). In this case we must consider the units that we use in archicad and in this way properly scale the object.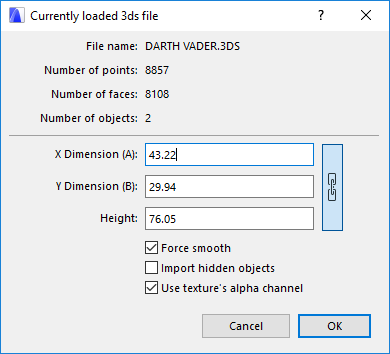
Once the process is finished, the object will be saved in the embedded library.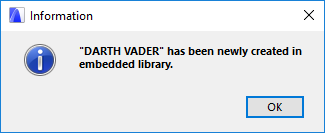
That easy.
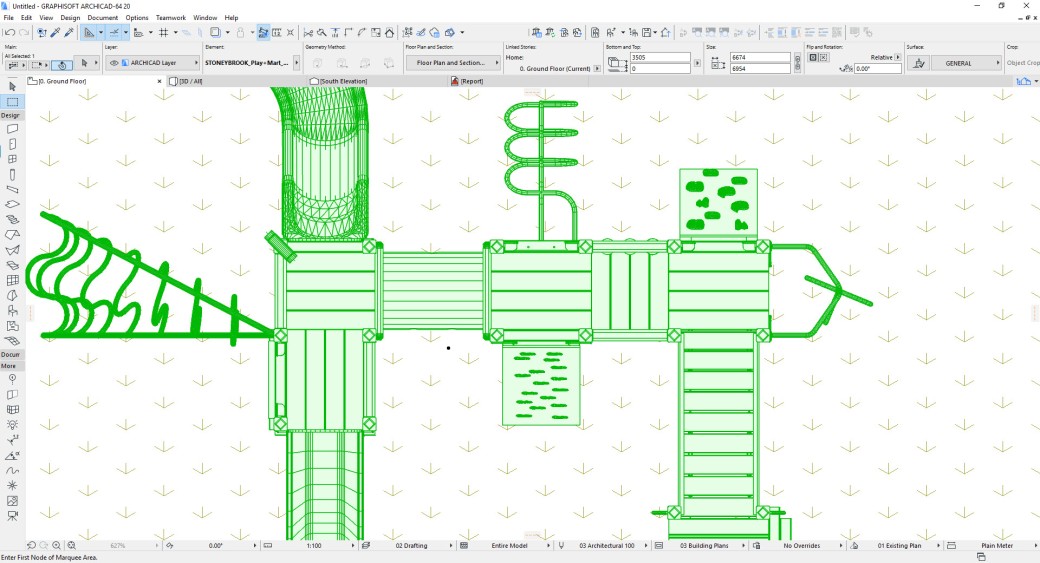
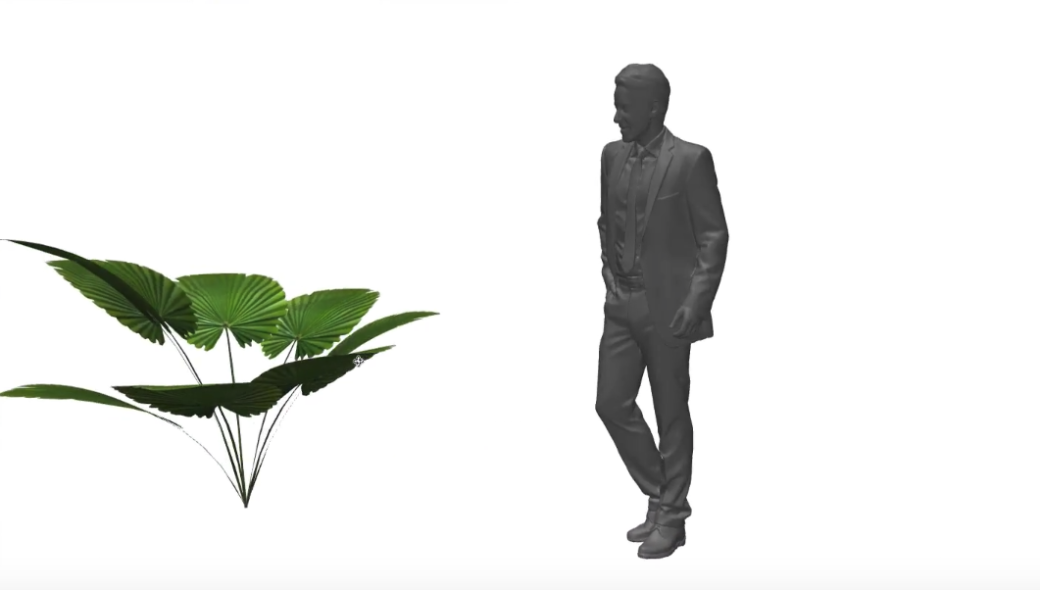
Now let’s insert Darth Vader in floor plan, select and open in 3d view.
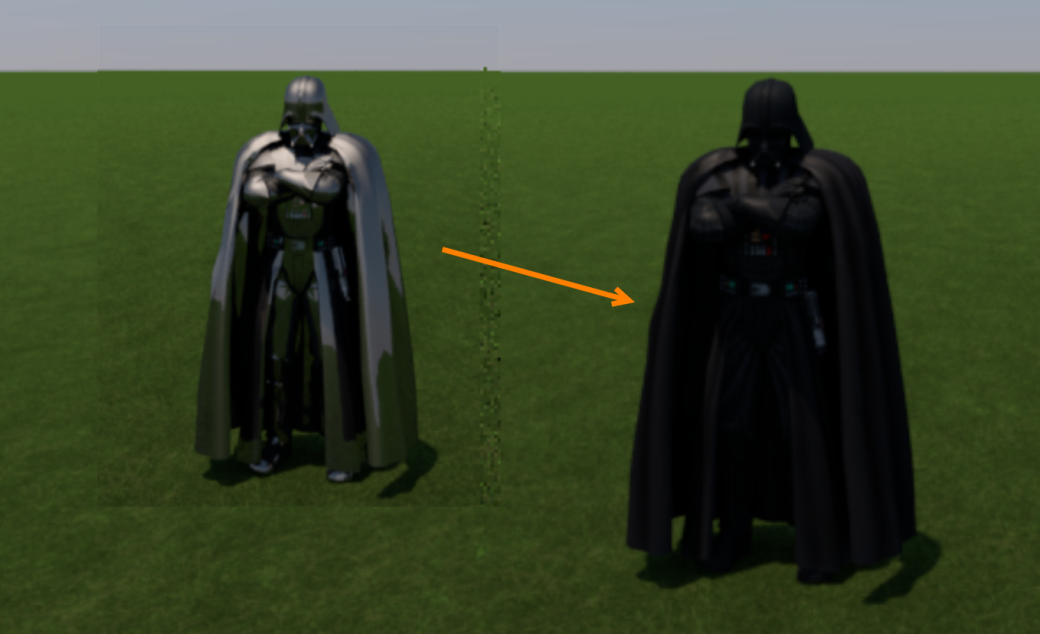
Maybe the textures are correct in the 3d view, but when doing a render using cinerender the object will not show them properly. OK.
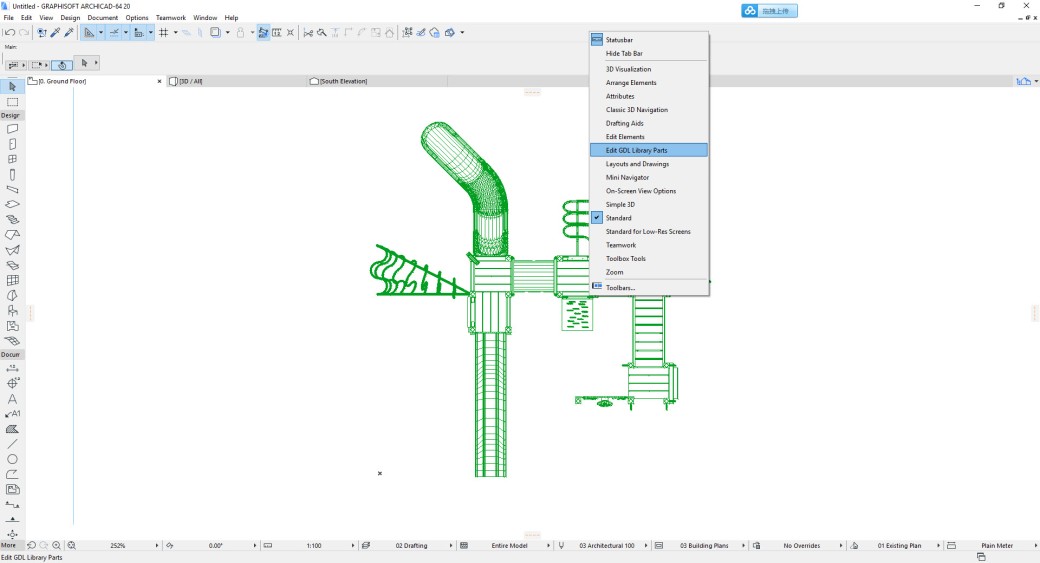
First using the library manager we will load the folder where the jpg textures are.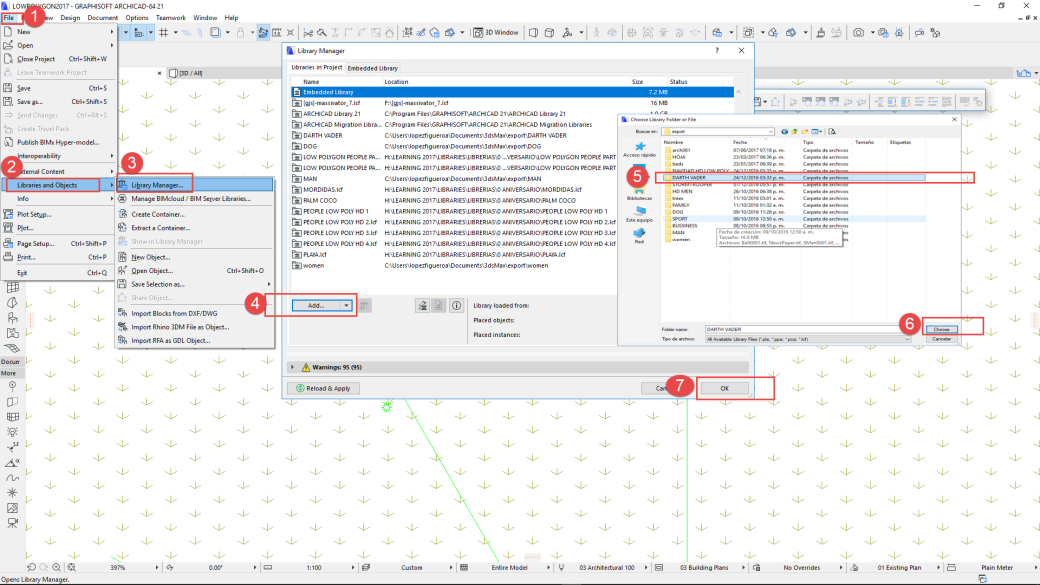 To correct this we will have to activate the toolbar for editing library objects.
Let’s go to the window menu and look for toolbars> edit gdl library parts
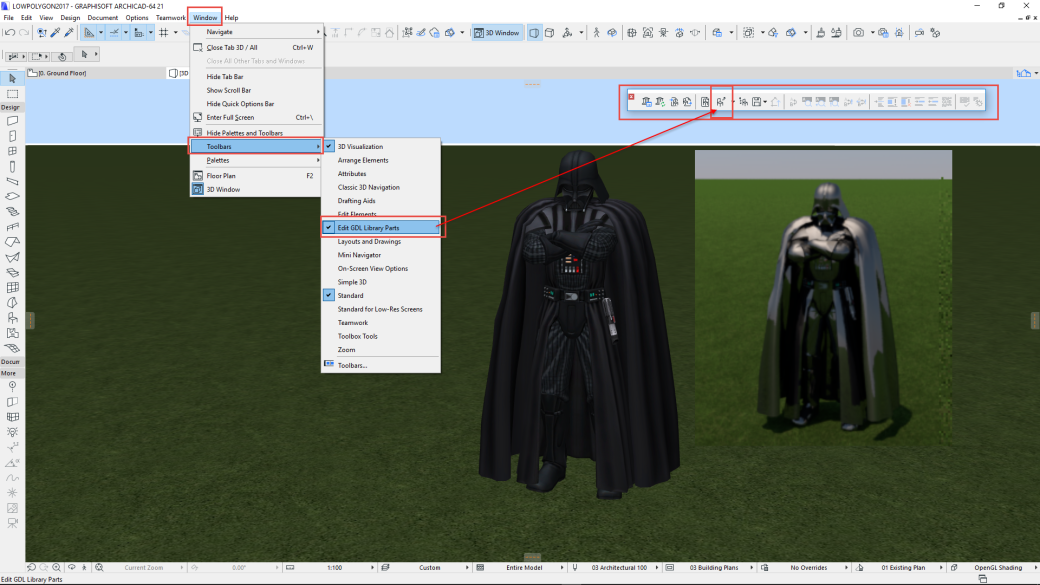 Select the object and from the edit bar use open the gdl object.
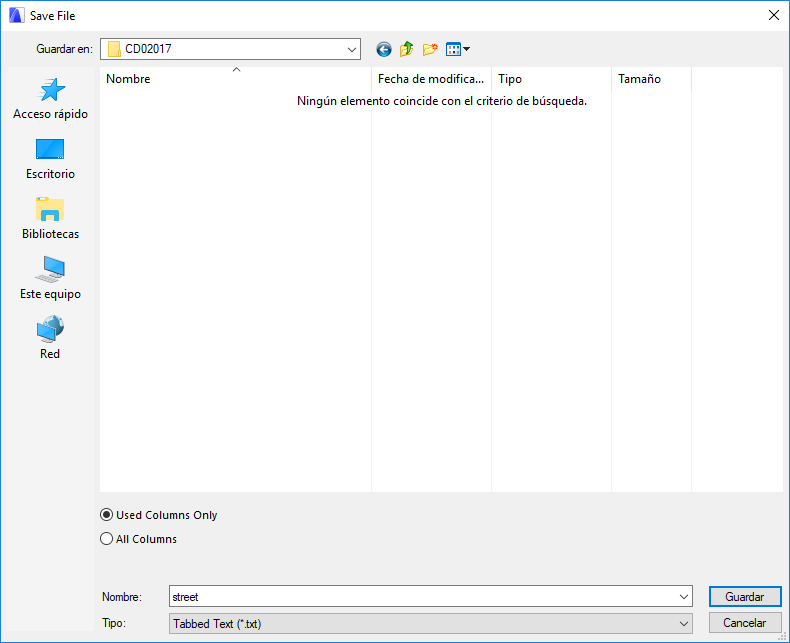
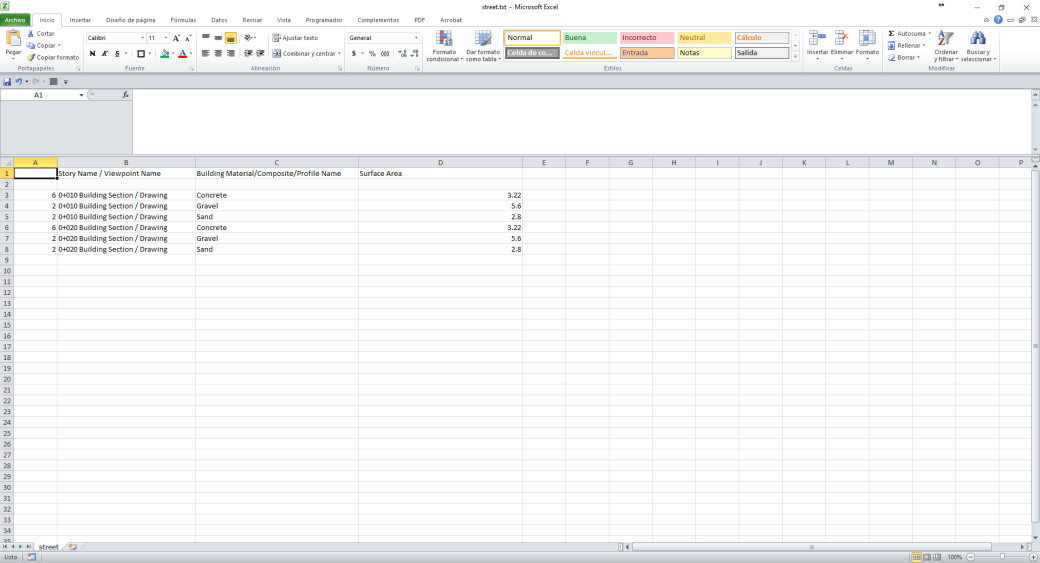
Download and open this text file LINK , in the scripts section click on the master button.
Copy and paste the contents of the text file.
Find where it says define texture.
In this part of the script the texture is defined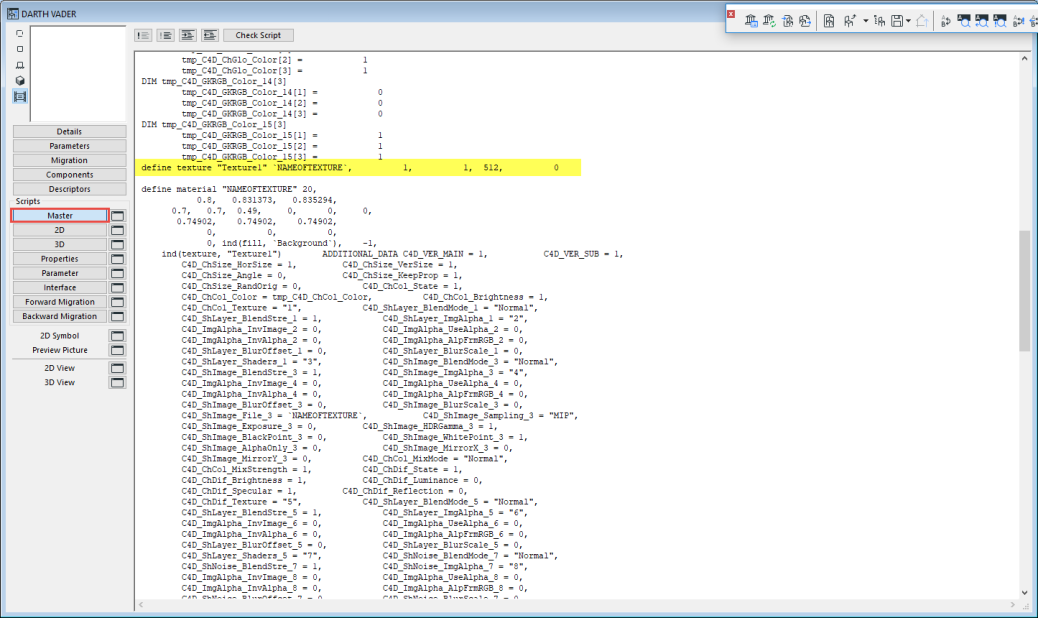 . You can check the gdl reference guide to better understand this instruction.
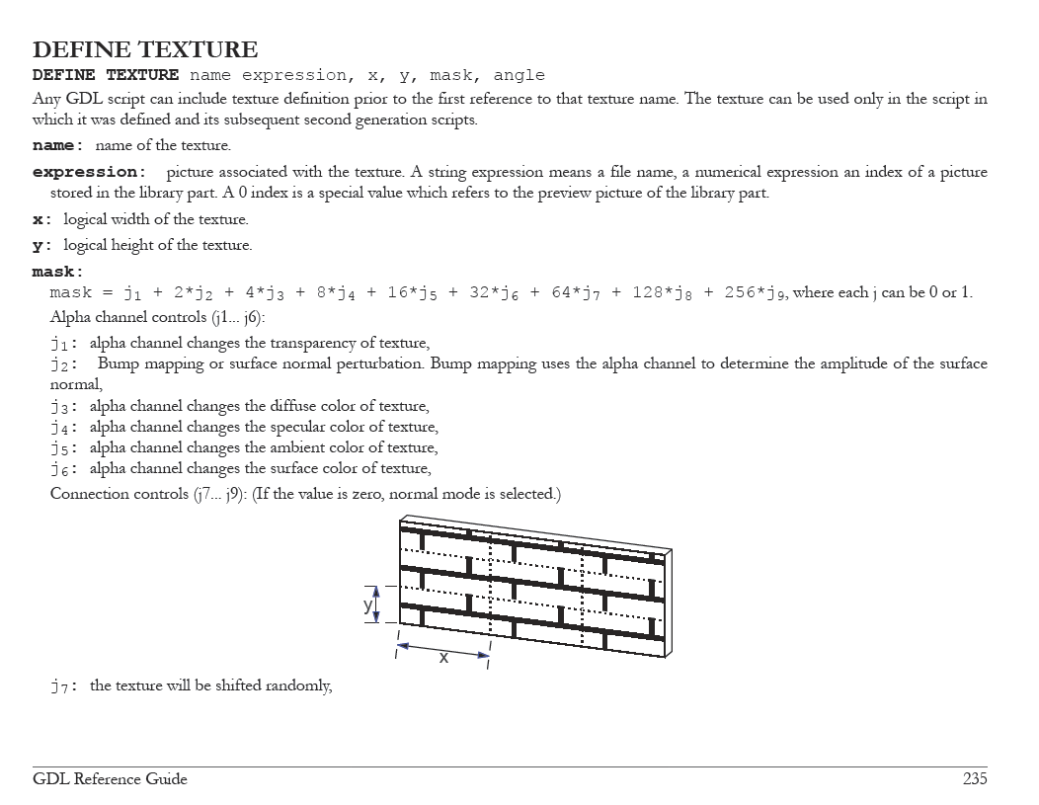
What will be done with this script is to create a material that will occupy a certain texture.
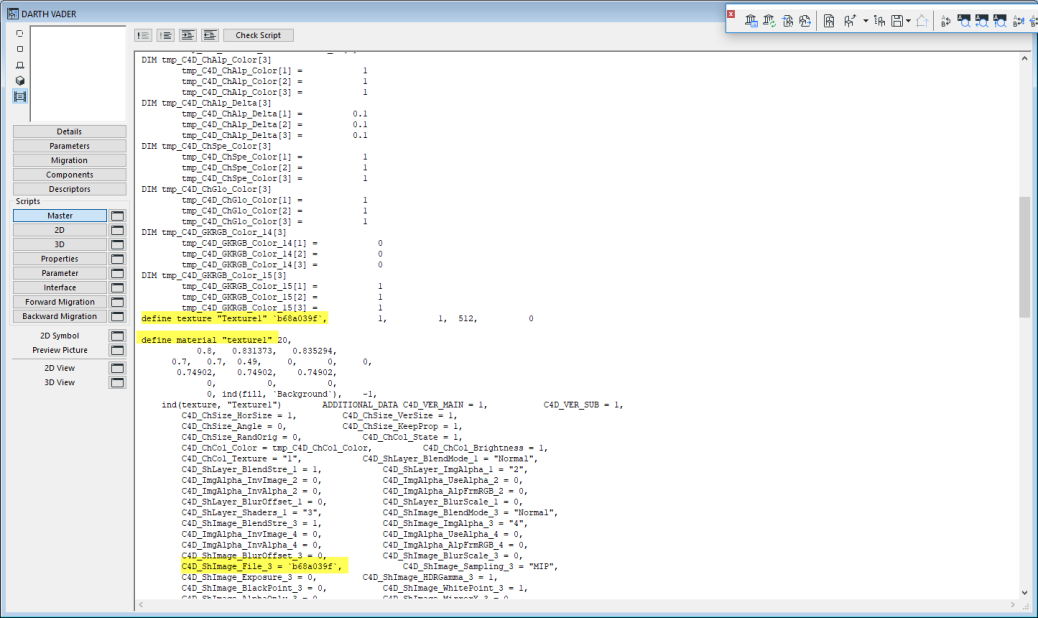
What we will do with the define statement will be to use a texture name that corresponds to the texture number . And that will occupy a texture name, which corresponds to the name of texture file jpg.
In this case “Texture1″ and ‘b68a039f’ . It is necessary to occupy the sign ” before and after the texture name, and the sign ‘ before and after the name of the texture file.
We do something similar by replacing the name of the material. For practical purposes I will use same name of texture – “Texture1”
I also replace the value of the line
C4D_ShImage_File_3 = `NAMEOFTEXTURE` by C4D_ShImage_File_3 = ‘b68a039f`.
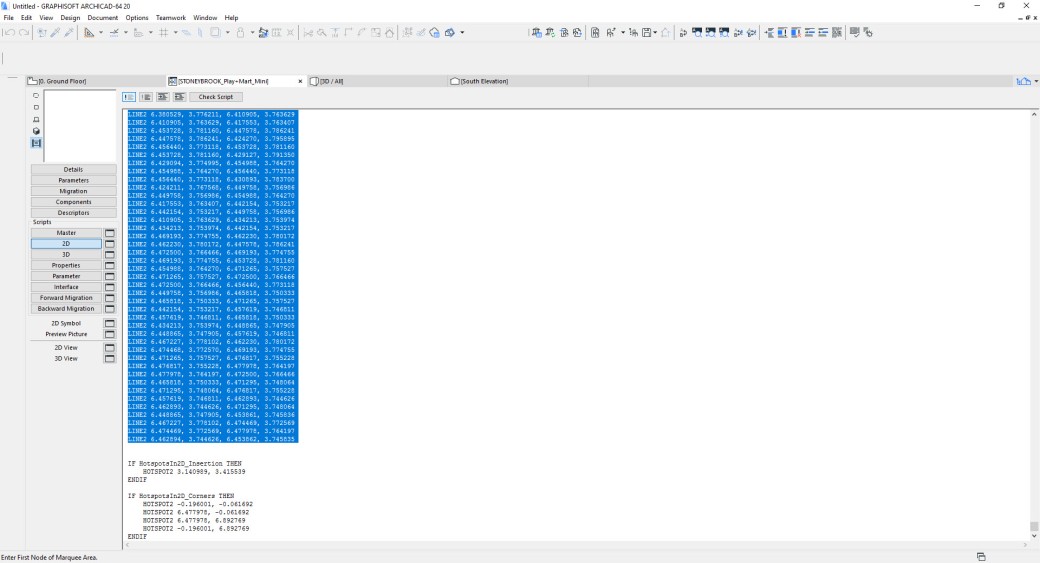
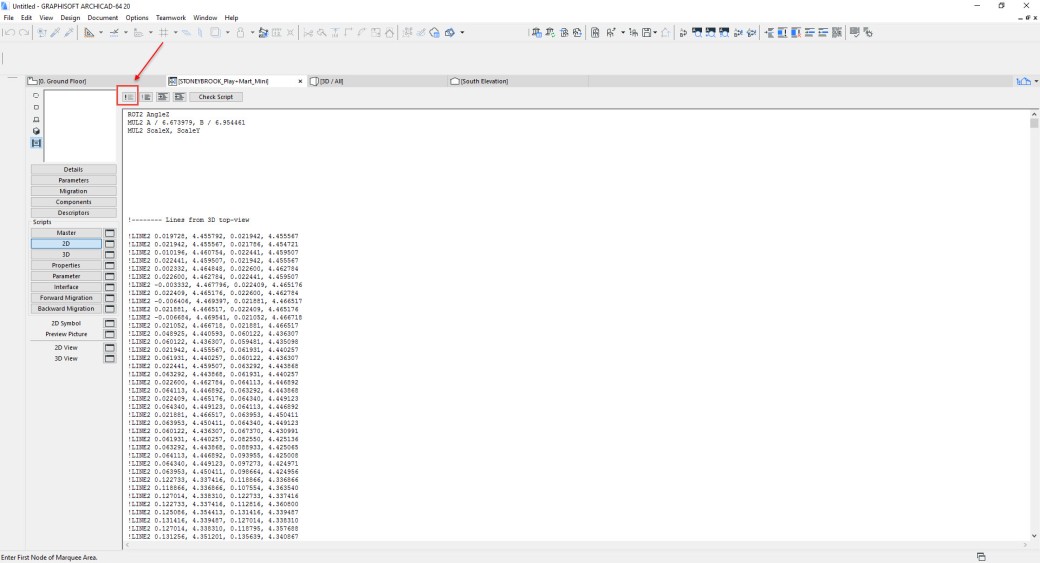
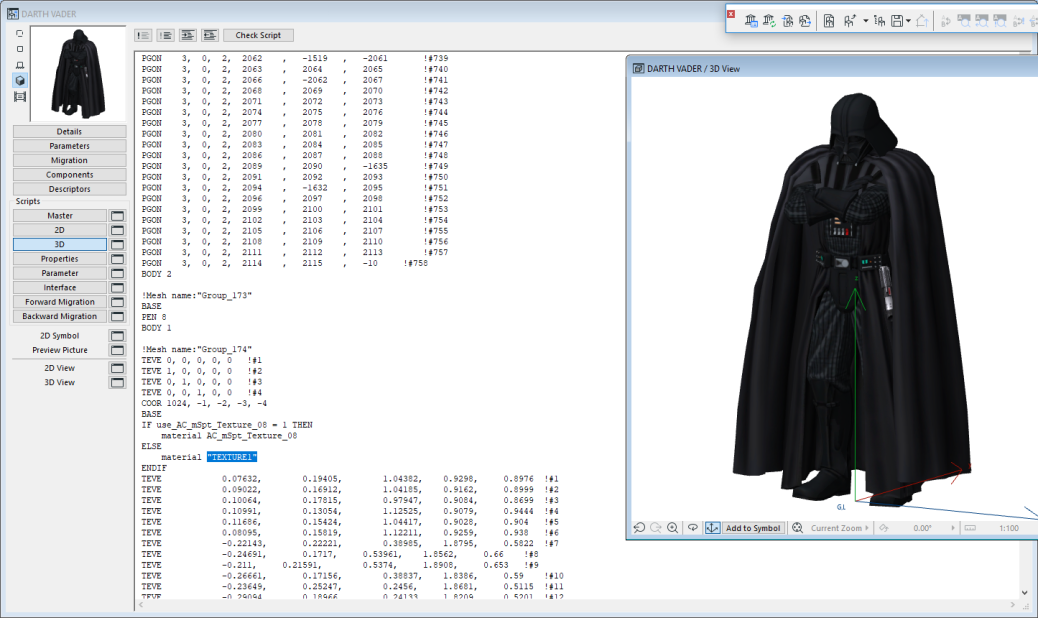
Now we review the 3d script.
Note that there is a part of the script that defines a texture and material for the same jpg file.
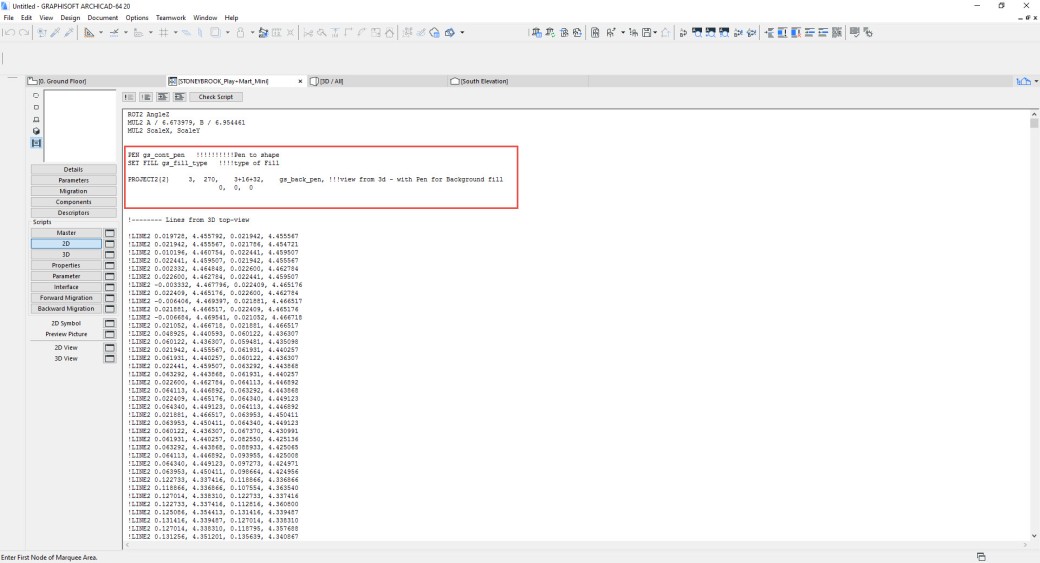
We are going to select that part of the script and we click on the admin sign that is at the top of the window. In this way, the sign will be added at the beginning of each of the selected rows. Archicad will omit the reading of the code of the lines that have that sign.
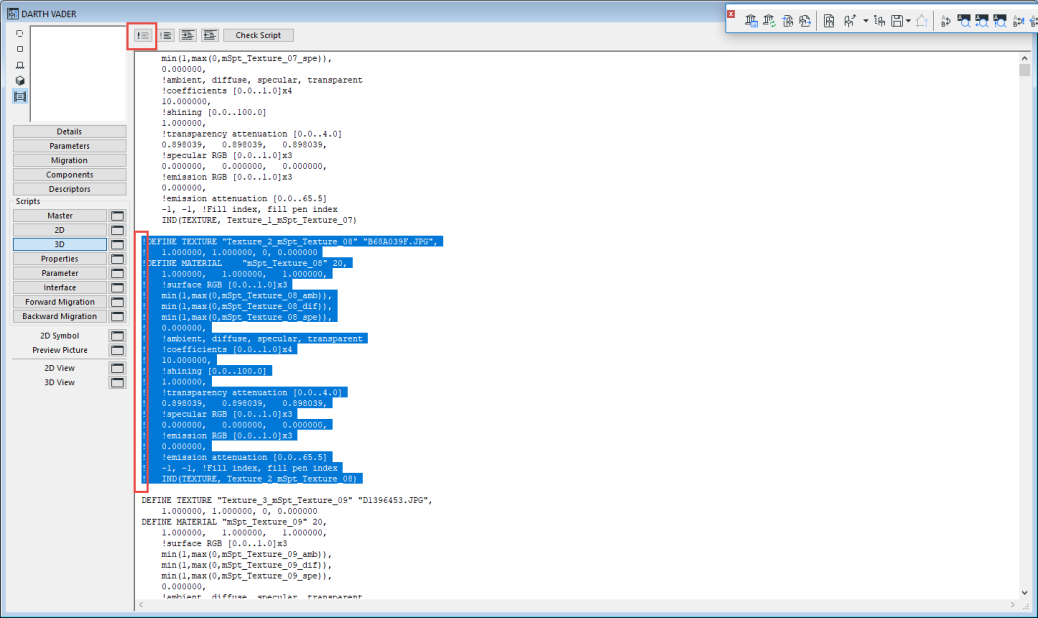
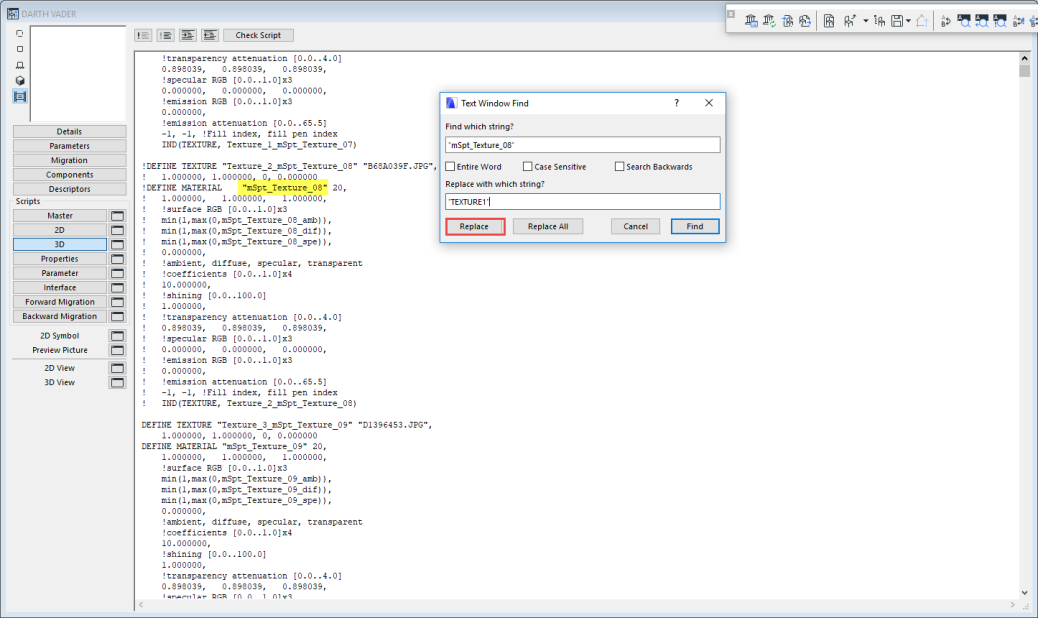
To finish the replacement of the script, we will look for the name of the old material
“mSpt_Texture_08”
and we will replace it with the new “texture1”
We can use Ctrl + F to perform the search and replacement
Ready. We can review the object by clicking on the 3d view button.
Now we repeat copying and pasting master script for so many textures that exist in our object. What we are going to be changing is the name of the texture for the consecutive …. TEXTURE2 … TEXTURE3 …. etc. and repeat workflow to REPLACEMENT in 3d script.
I use this text to separate scripts
!!!!!!!!!!!!!!!!!!!!!!!!!!!!!!!!!!!!!!!!!!!!!!!!!!!END TEXTURE 1
It is important to check that in the copies of the script the change of the texture name is correct.
in the lines
define texture “Texture2” `b68a039f`, 1, 1, 512, 0
define material “texture2” 20,
ind (texture, “Texture2”) ADDITIONAL_DATA C4D_VER_MAIN = 1, C4D_VER_SUB = 1,
C4D_ChCol_Texture = “2”, C4D_ShLayer_BlendMode_1 = “Normal”,
just like the name of the jpg file
In the object that I share you can read the script that has comments.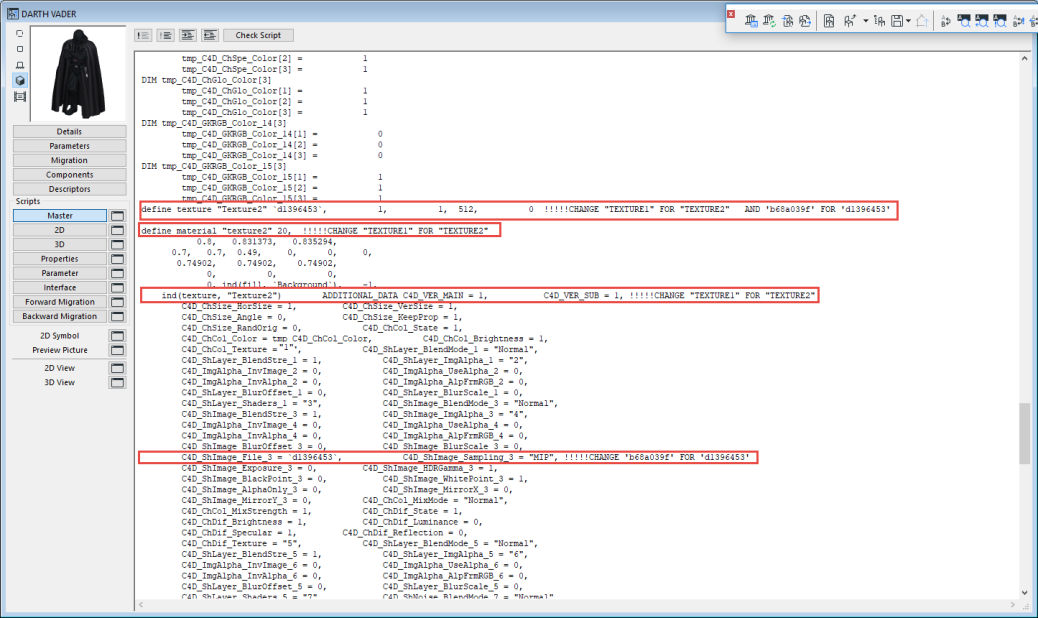
To finish open the 3d view.
Click on a corner of the view and then diagonally click on the other end. The cursor becomes a trident. Press Ctrl + c.
Click on the preview button. Open the blank window. Press Ctrl + V and the image will be pasted in this way. 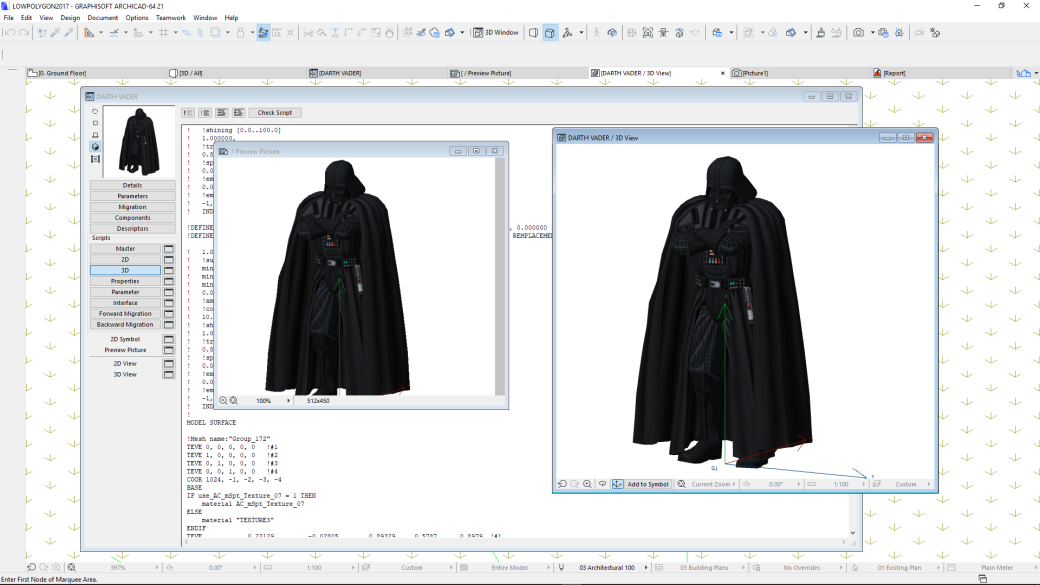
Our library object is ready. Close the object and save it.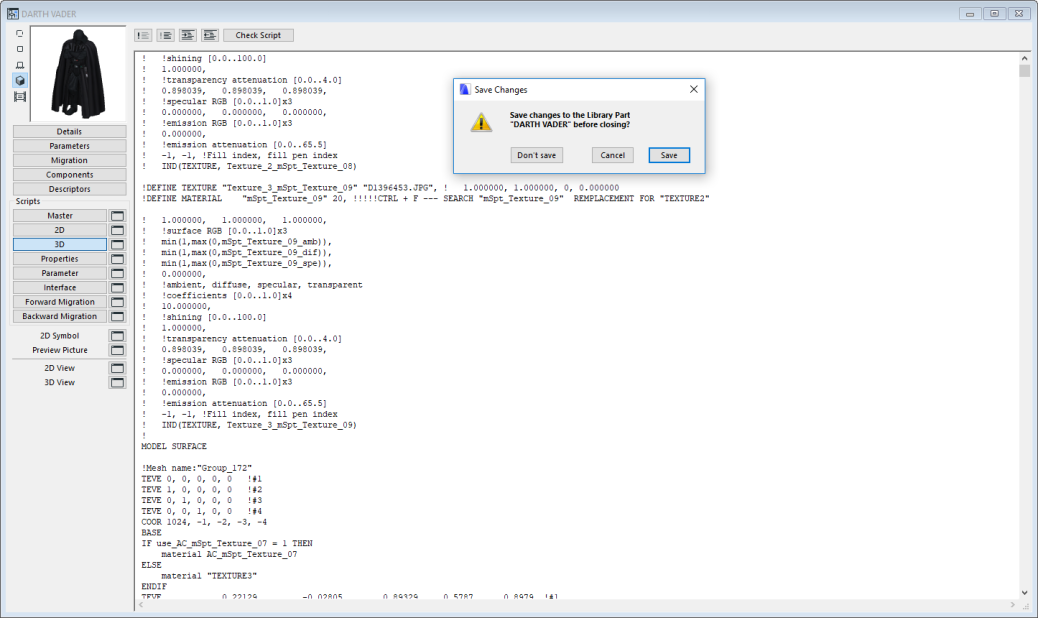
Now repeat the render. Darth vader looks much better.
You can download the gsm file for ac21, the text file and the folder that contains the 3ds file with the textures here.
Conclusions
Fixing 3d objects for use in our 3d views and renders can be a task that demands significant time. So we must keep this situation in mind. However, if it comes to libraries that we are going to use, it is often worthwhile to make an effort.
I hope this tutorial encourages you to explore a little more in the GDL.
And may the force be with you.